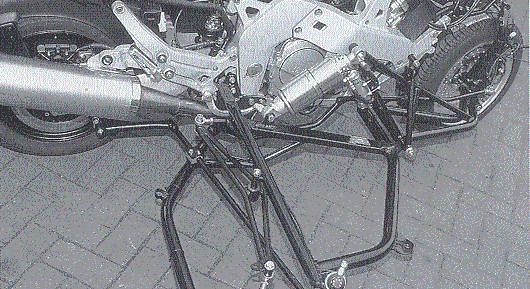
Sidecarframe and the front wheel suspension. The original front shock can be used. When the originally shock died, I've changed it for a custom build shock from Technoflex.
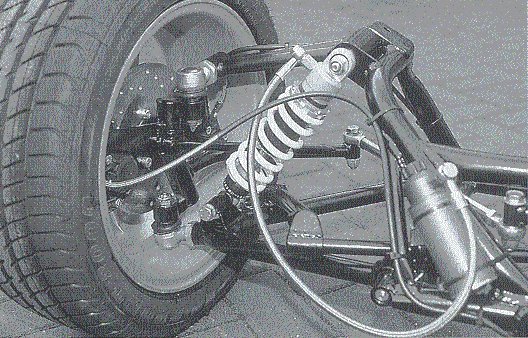
Sidecar wheel; WP shock with nitrogen/oil reservoir and the steering system for
the sidecarwheel.

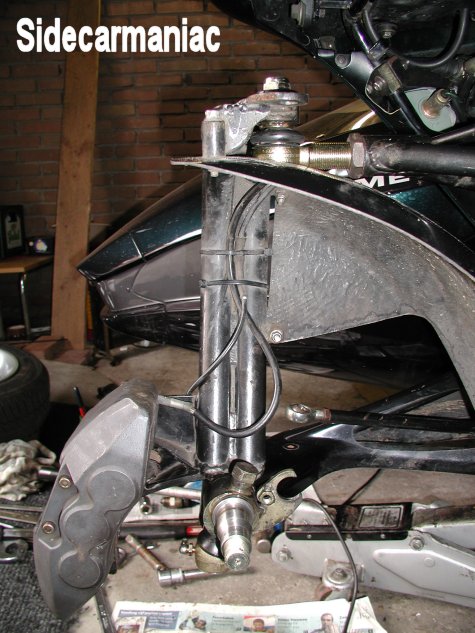
The front wheel is removed and you see the upper ball joint. There is a long thread to adjust the ball joint to the right position. Before removing you have to measure the distance of the thread to be sure the new one is on the right place. You have to do that with almost every removable part of the steering system. But offcourse it's also possible to count the number of "clockwise turns" till the part is stopped by the frame.
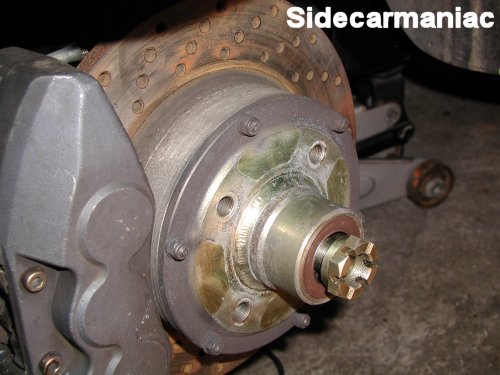
The front brake system. The 6 piston caliper is originally GTS1000. The disc is probably from a french car. All brakelines are RVS. You can see three of the four holes for the wheel bolts. Be sure not to use longer bolts than the holes are deep. If you use longer bolts the sensor rotor on the other side will be damaged. The rotor is used by the pickup coil for the odometer.
An overview to understand the other pictures a littlebit better.
Here is the brake caliper and disc removed.

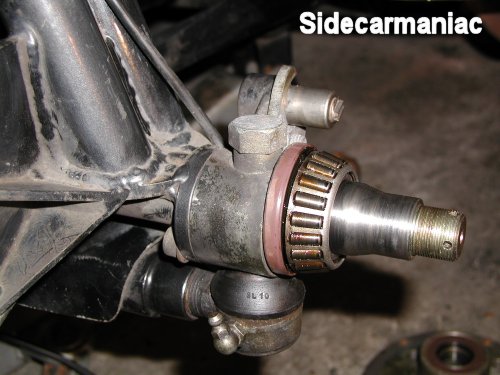
The center of the hub steering system. The pickup coil for the odometer is adjustable in a kind of two teeth fork and also by thin rings between the coil and fork. So before removing it mark the right position and count the thin rings. My GTS runs 6000 rpm at 130 km/hour, 7000 rpm at 140 km/hour (That is with 17/43 sprocket set, 195/45 tyres on the 14 inch wheels).
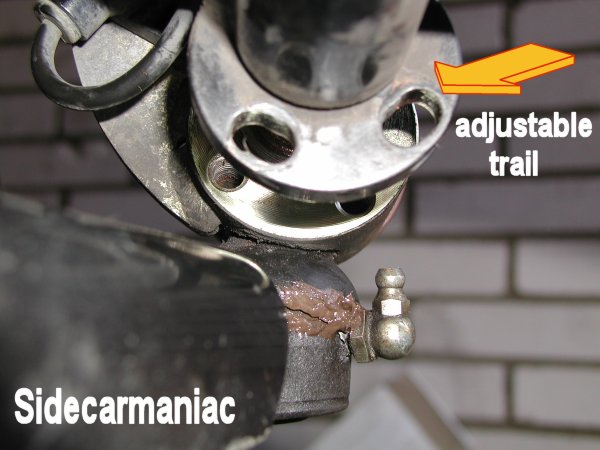
The trail of the front wheel is adjustable by untighten the two allen screws and turns the center of the hub steering. Here you see the holes without the allen screws. It is also possible to adjust the rake by adjusting the ball joints. But that will also change the trail.
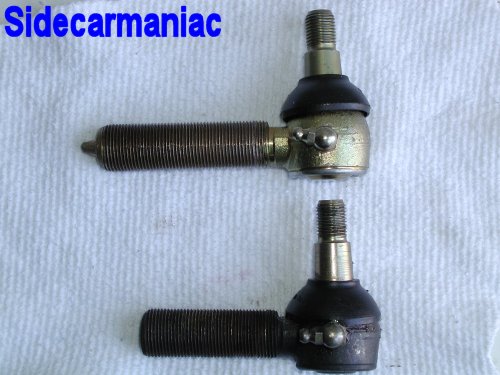
The lower ball joint is shorter then the new one from the store. So you have to make it to the right size with a saw. Before you do that be sure you've turned a nut on the trhead to recover the trhead after the saw job. B.t.w, originally by SideBike, the lower ball joint is the only one that has a grease nipple. I don't know why the other three ball joints must live without it.
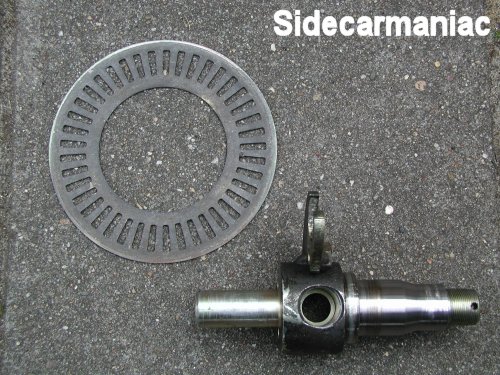
The sensor rotor and the naked center of the hub steering system.